Replacing all of the bushings in the rear suspension of a 1998-2003 BMW X5 (Incl. Torque Specs)
Hi Everyone,
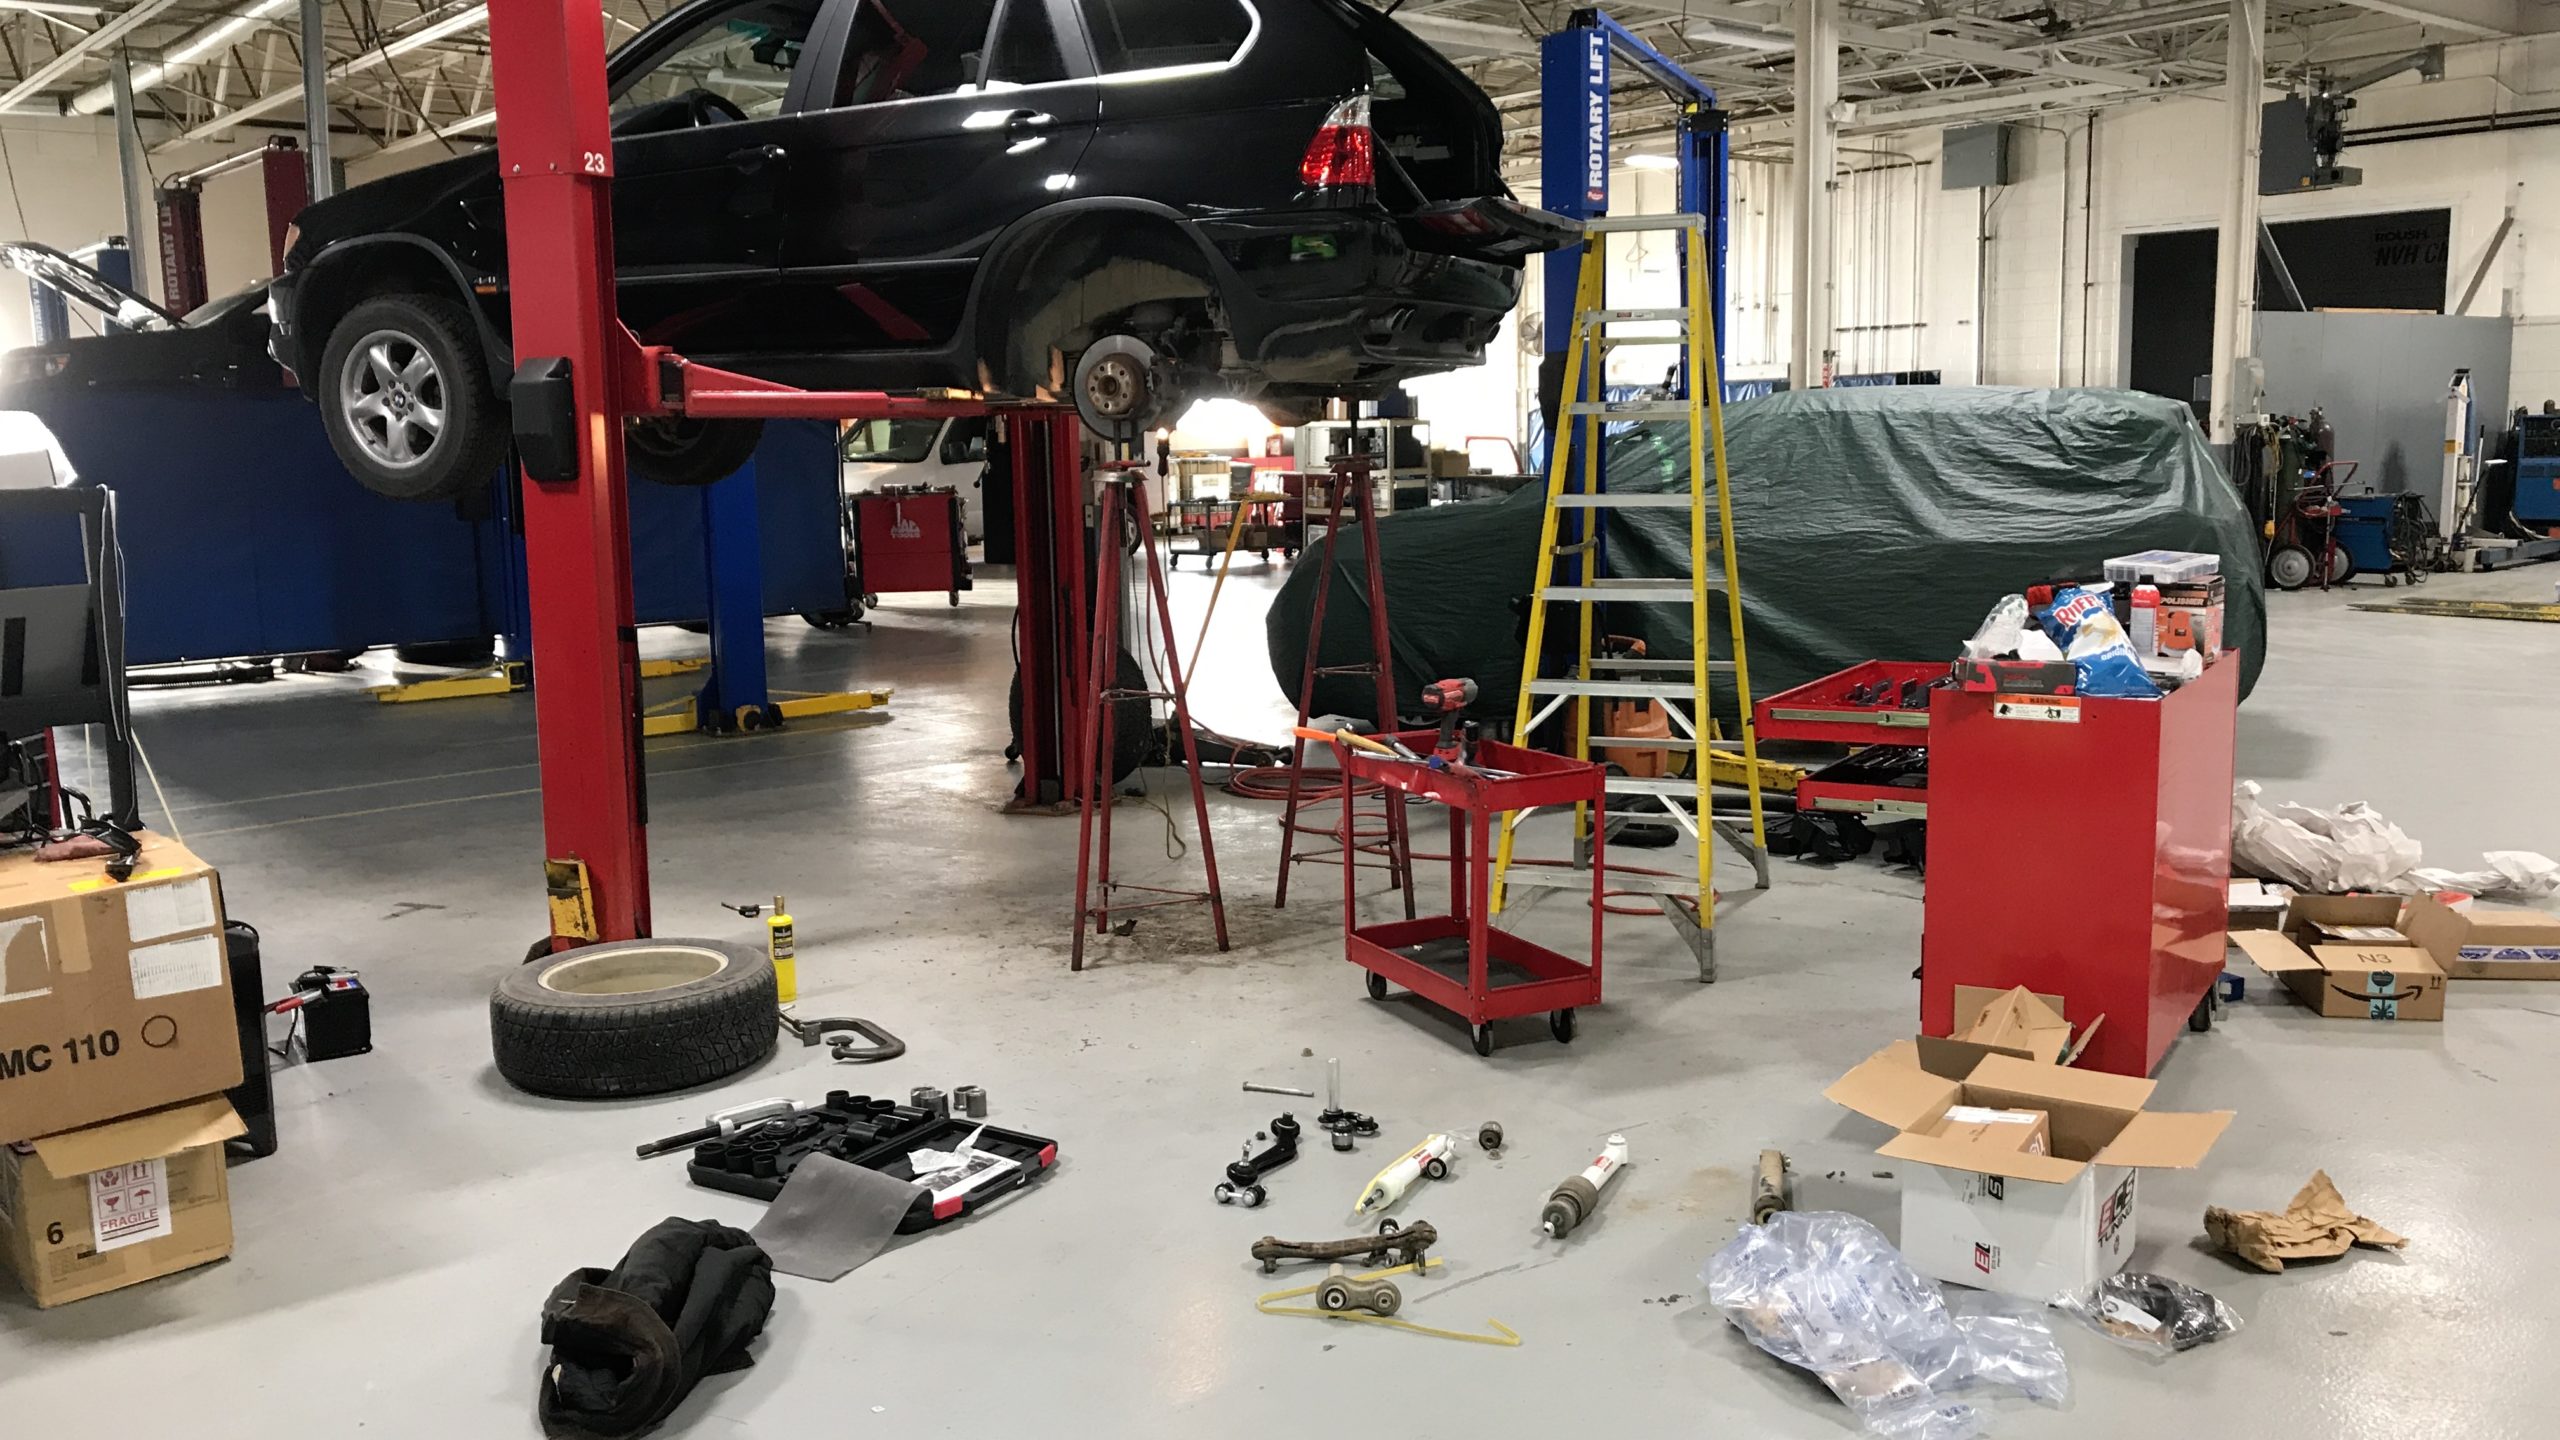
I recently did the rather large job of replacing every bushing in rear end of my wife’s BMW x5 with exception of the airbags and subframe bushings (see notes at end). If you are having rear chamber issues (i.e. the rear tires lean too much) then you are in the right place. Before I begin I will say in hindsight I probably should have just removed the whole rear subframe as I also replaced the wheel bearings, parking brake hardware, and parking brake cable while I did this job. Choose your adventure with this one…
Here are the parts to be replaced:

This includes:
Shock (x2) [3 nuts] 33 52 6 761 928 (Not shown above)
127Nm to A-arm
27Nm on piston rod
53Nm to body nuts
Stabilizer links (x2) [2 nuts] 33 55 1 096 735 (Not shown above)
100Nm
Integral link (x2) [2 nuts 1 nut shares with A-arm] 33 32 6 770 749 (Part #4)
105Nm
A-arm (left) [3 nuts] 33 32 6 770 743 (Bushing in part #15)
105Nm for the M12
165Nm for the M14
250Nm for the M16
A-arm (right) [3 nuts] 33 32 6 770 744 (Bushing in part #15)
105Nm for the M12
165Nm for the M14
250Nm for the M16
Suspension link w/ ball joint (x2) [2 nuts] 33 32 6 774 796 (Part #6)
105Nm – axle side 60Nm – wheel side M10
Control arm kit (x1) 33 32 2 180 423 (Part #11)
Control arm/Wishbone w/ ball joint (left) [2 nuts] 33 32 6 770 859
Control arm/Wishbone w/ ball joint (right) [2 nuts] 33 32 6 770 860
105Nm – axle side
165Nm – wheel side
Ball Joint (x2) [1 nut share with integral link and A-arm] 33 32 2 296 222 (Part #2)
250NM
All torques must be tightened in ride position if they compress a rubber bushing. Basically you don’t want to preload the rubber. Items like ball joints can be torqued not in ride position. In general torques are:
60Nm for M10
105Nm for M12
165Nm for M14
250Nm for M16
General Comments: This project, for both sides, took me about 45-50 man hours with all of the pressing in an out of bushings and making all of the adapters needed to do that. I had a friend help me for some of it. So we did it in a weekend, including the other hardware we replaced.
Pressing the bushings into the A-arm: This task was not easy since the bushings come oversized with a slot. I used three hose clamps to compress the bushing down as far as possible. Then I pressed it in. I would buy extra bushings, because you will likely damage one and they’re cheap.
Subframe bushings (part #2 below): I did this a couple years ago hoping it would help my chamber issues, but it didn’t. I followed one of the many YouTube videos and bought this tool:
https://www.ebay.com/itm/BMW-X5-Bush-Removal-Tool-Rear-Sub-Frame-Bush-Remover-Set-E53-1999-2007/222738294551?epid=1556368805&hash=item33dc3ca717:g:T7QAAOSwwE5WUzEL:rk:2:pf:0

Airbags: I thought these were going to be very expensive so I didn’t even research them before doing this job. Turns out they are not bad:
https://www.ebay.com/i/282137182069?chn=ps
And they are also relatively easy to replace:
https://www.youtube.com/watch?v=zmQ8XqPy4B8
But I’ll wait until I get a leak for now.
Update: 6 months later my passenger rear air bag started to leak at 210k miles. Pretty good for the OEM bag! I ordered two from RockAuto.
A2501 & A2502.
Post a comment if you have any questions,
-Troy